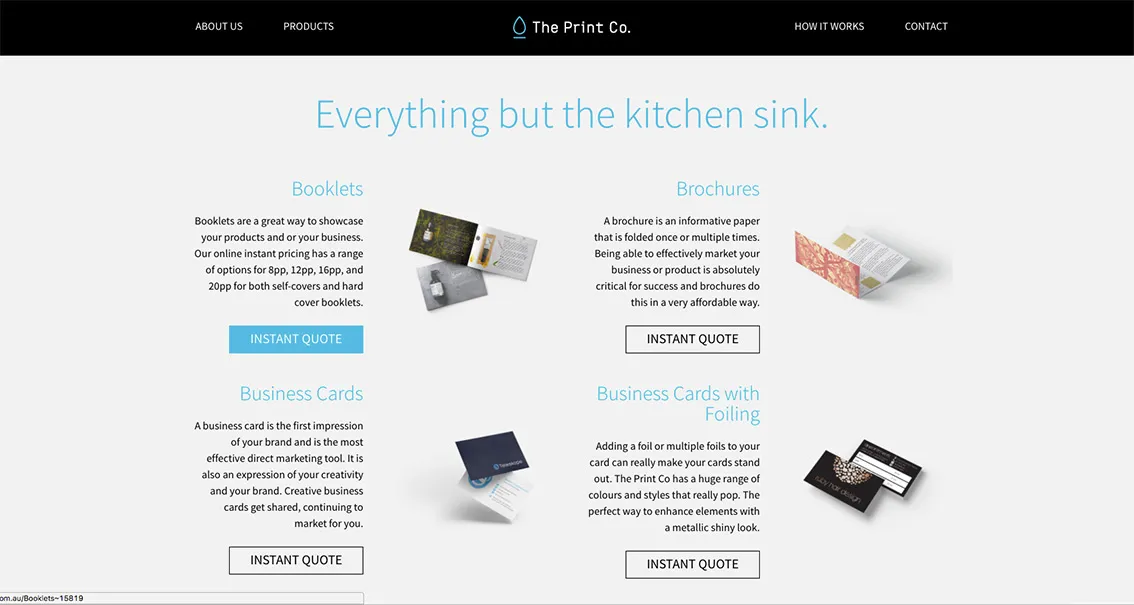
Step 1
From the home page, click on the 'VIEW OUR PRODUCTS' button

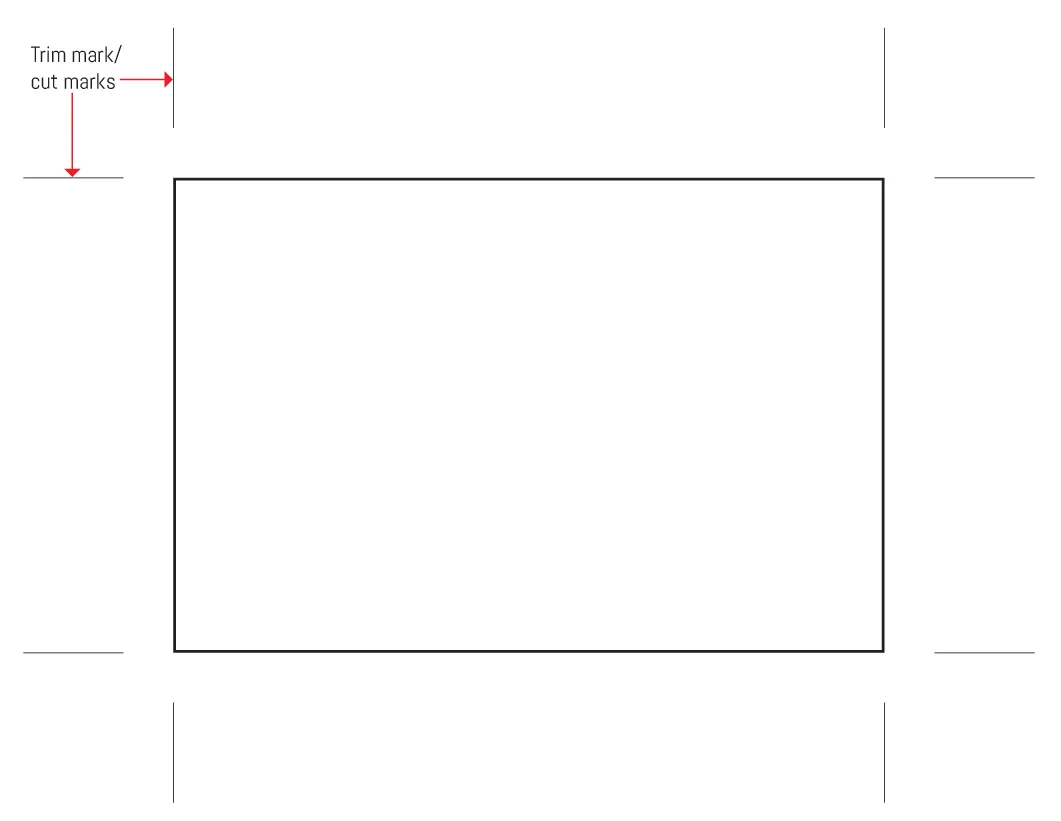
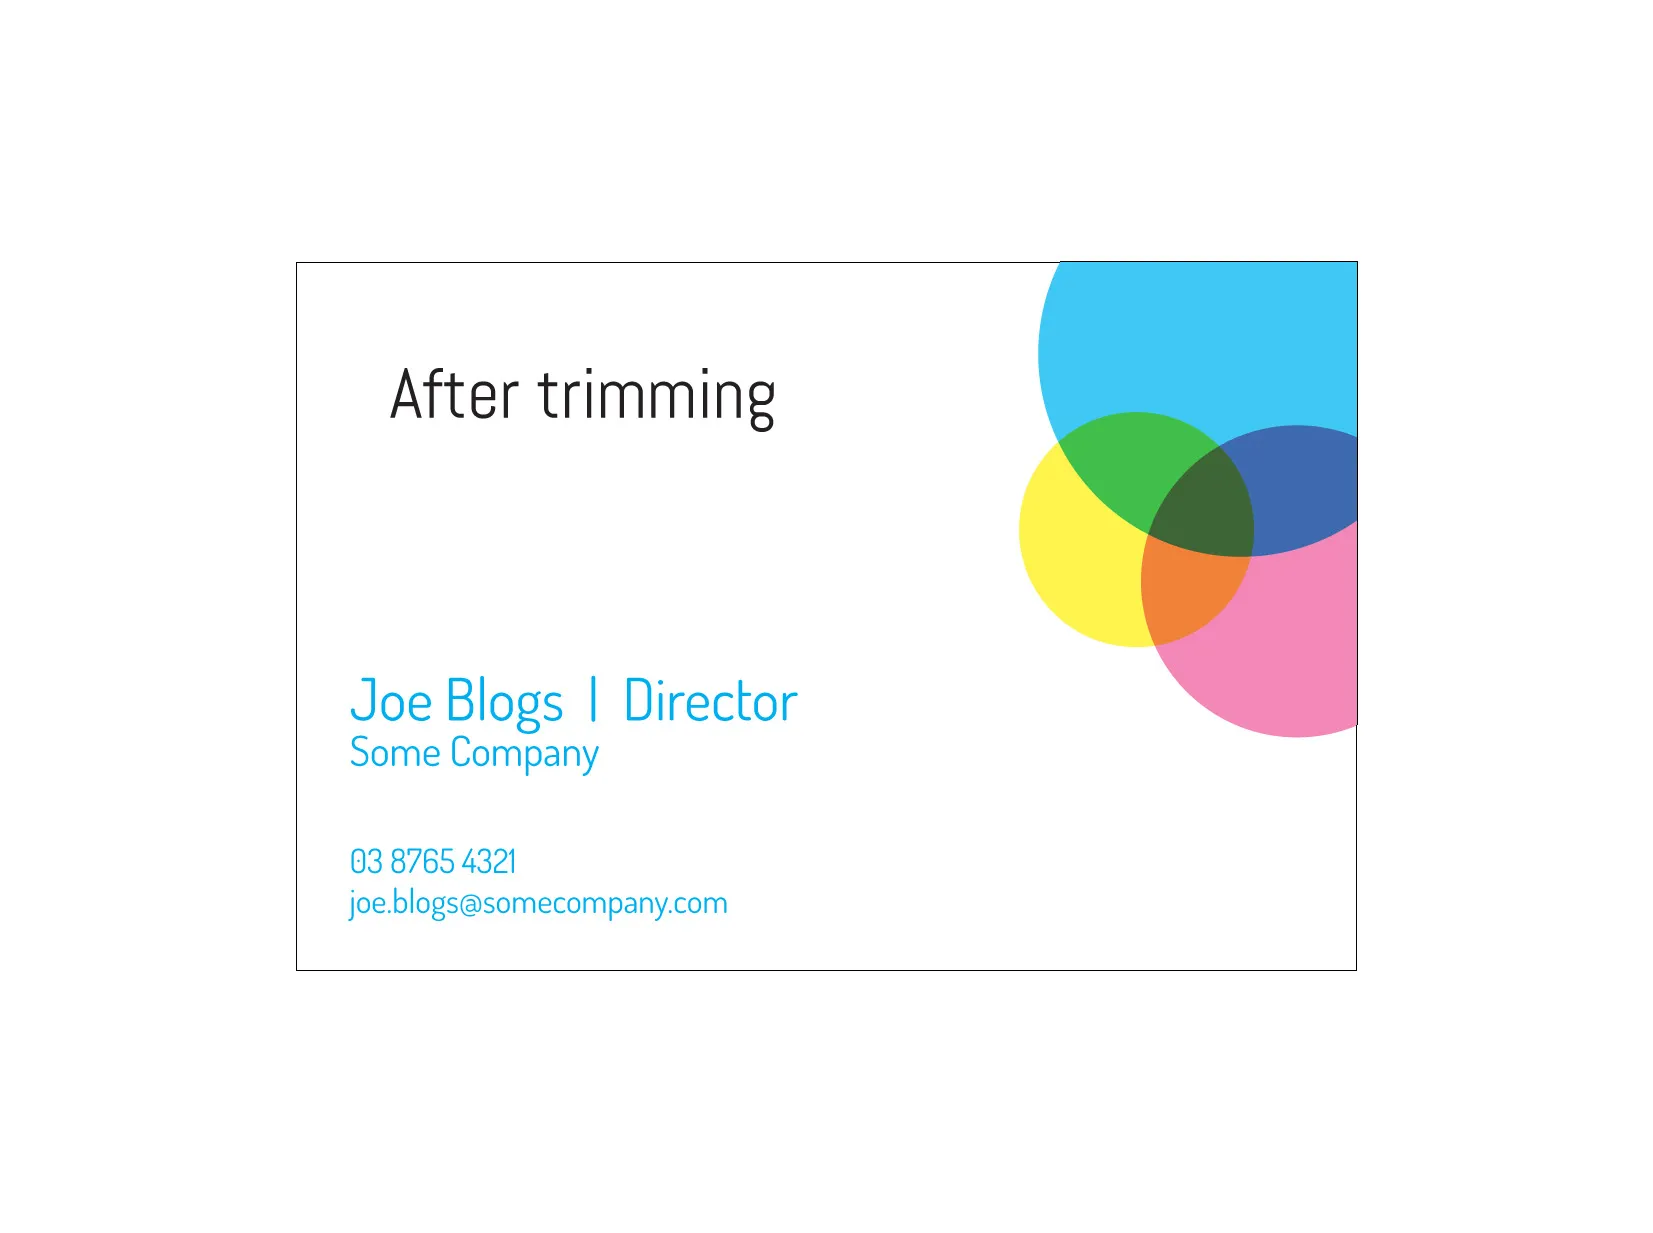
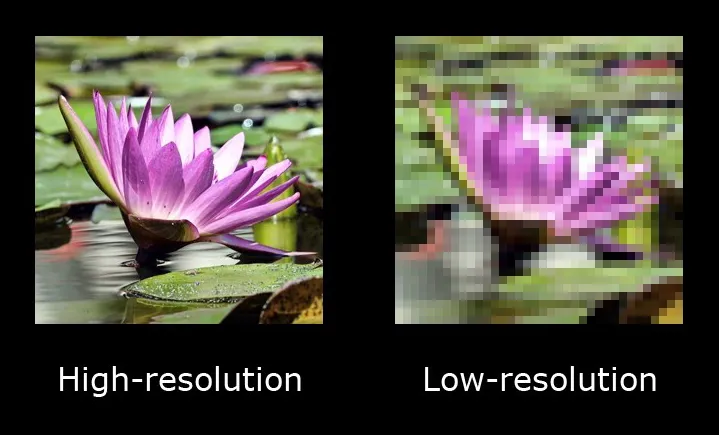
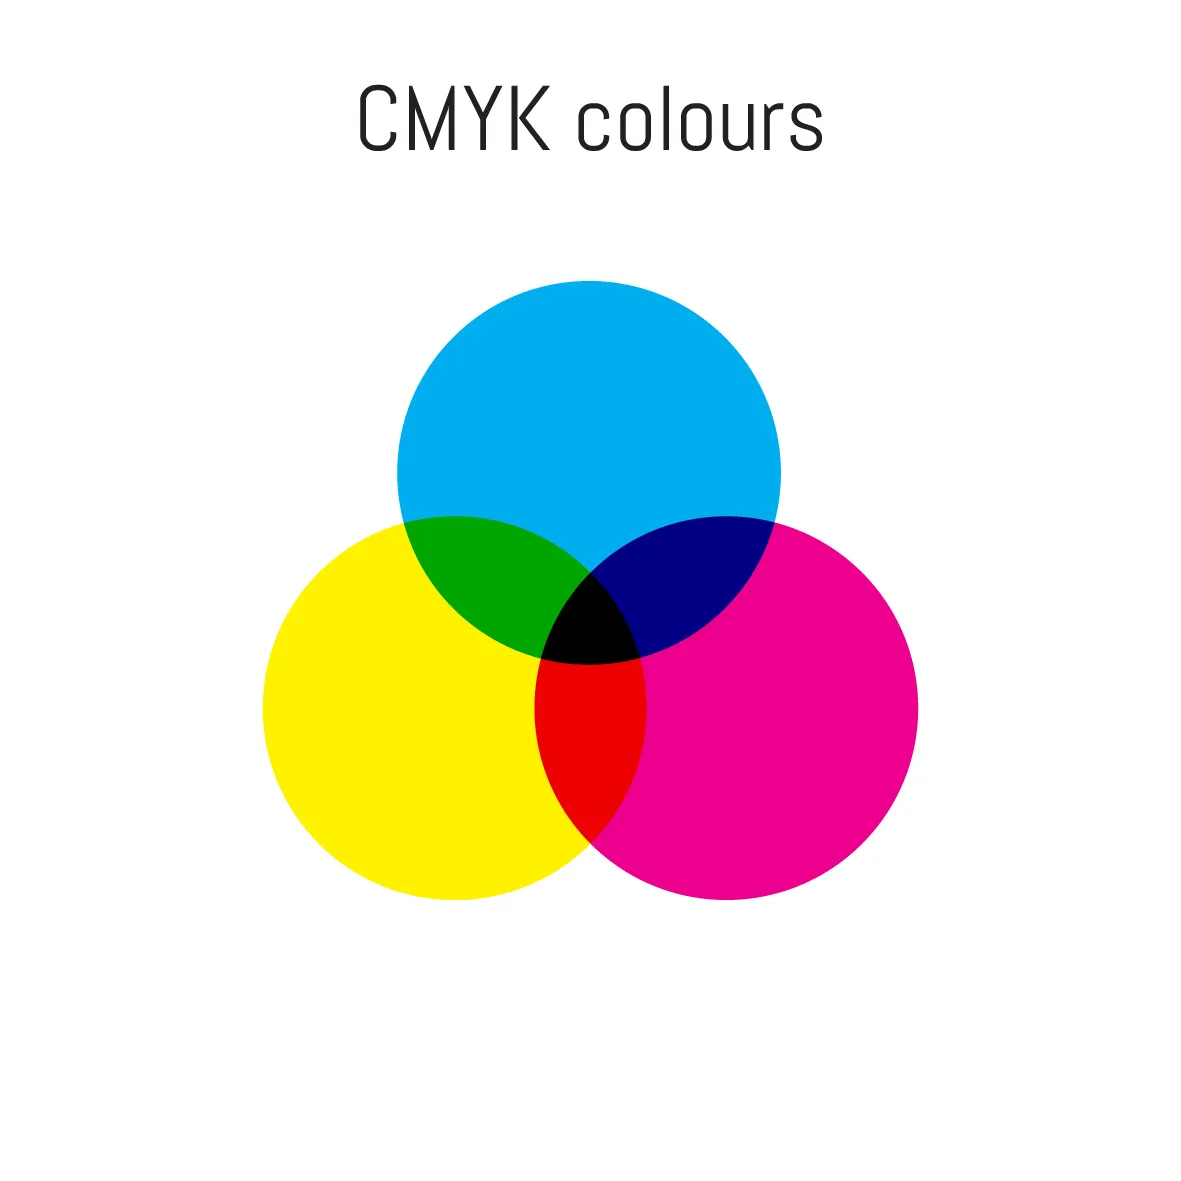
Click on image to enlarge
Step 2
Then scroll till you find the product you require, click on the 'INSTANT QUOTE' button
Click on image to enlarge
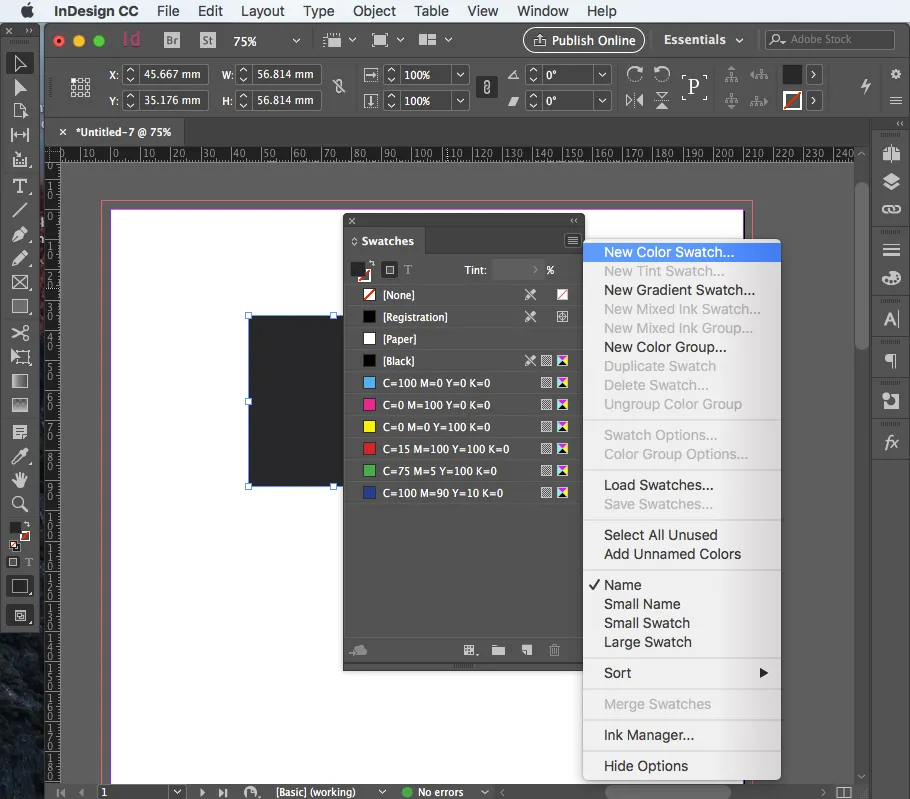
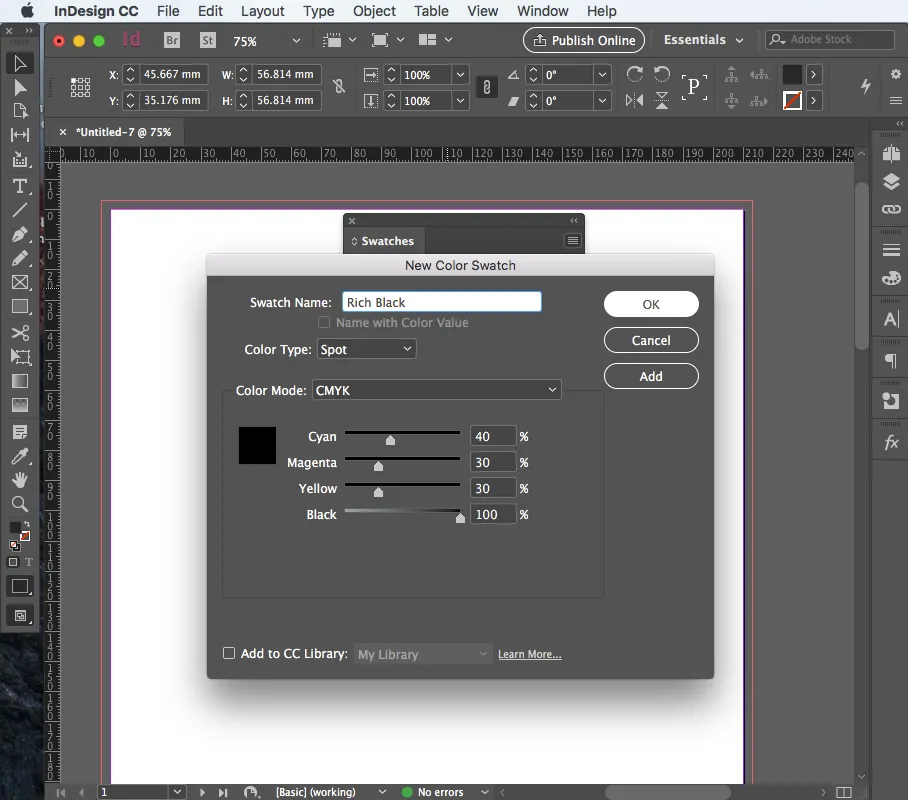
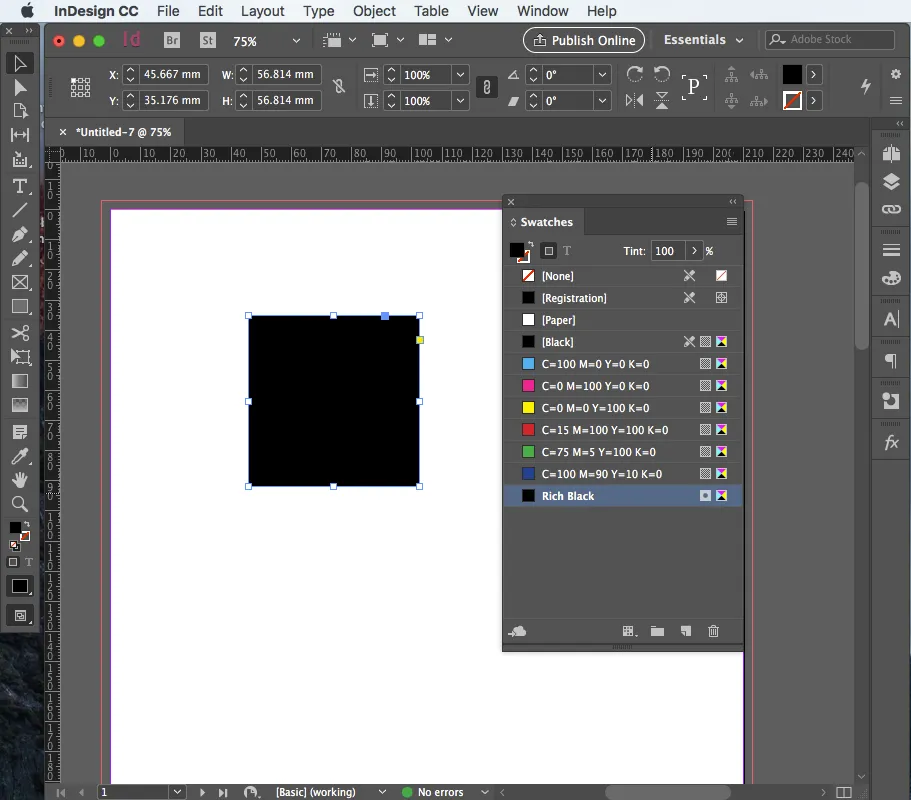
Step 3
Now choose your printing options from the dropdown lists. Once all the options have been selected, a price will appear underneath for your print job.
At this stage you can choose to 'EMAIL ME THIS QUOTE' where you will be sent an email with the quote and a link to return to this page autofilled ready to order when you are ready.
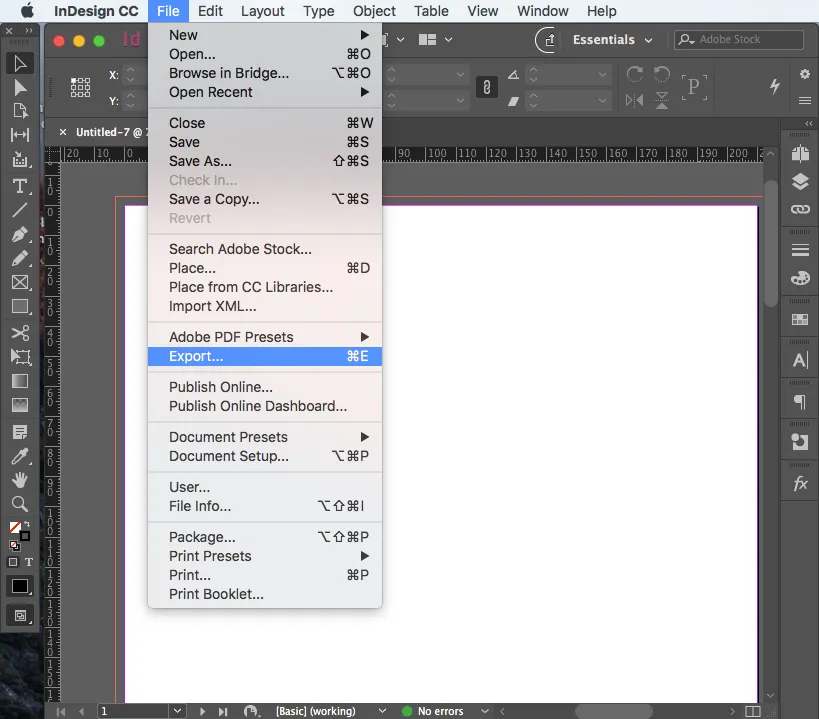
If you are ready to proceed, upload you print ready file by dragging it onto the area to upload files or by clicking on the area and then choosing your file from your computer.
Once the file has uploaded (keep in mind that large files may take some time to upload depending on your internet connection) you can click 'Add to cart'.
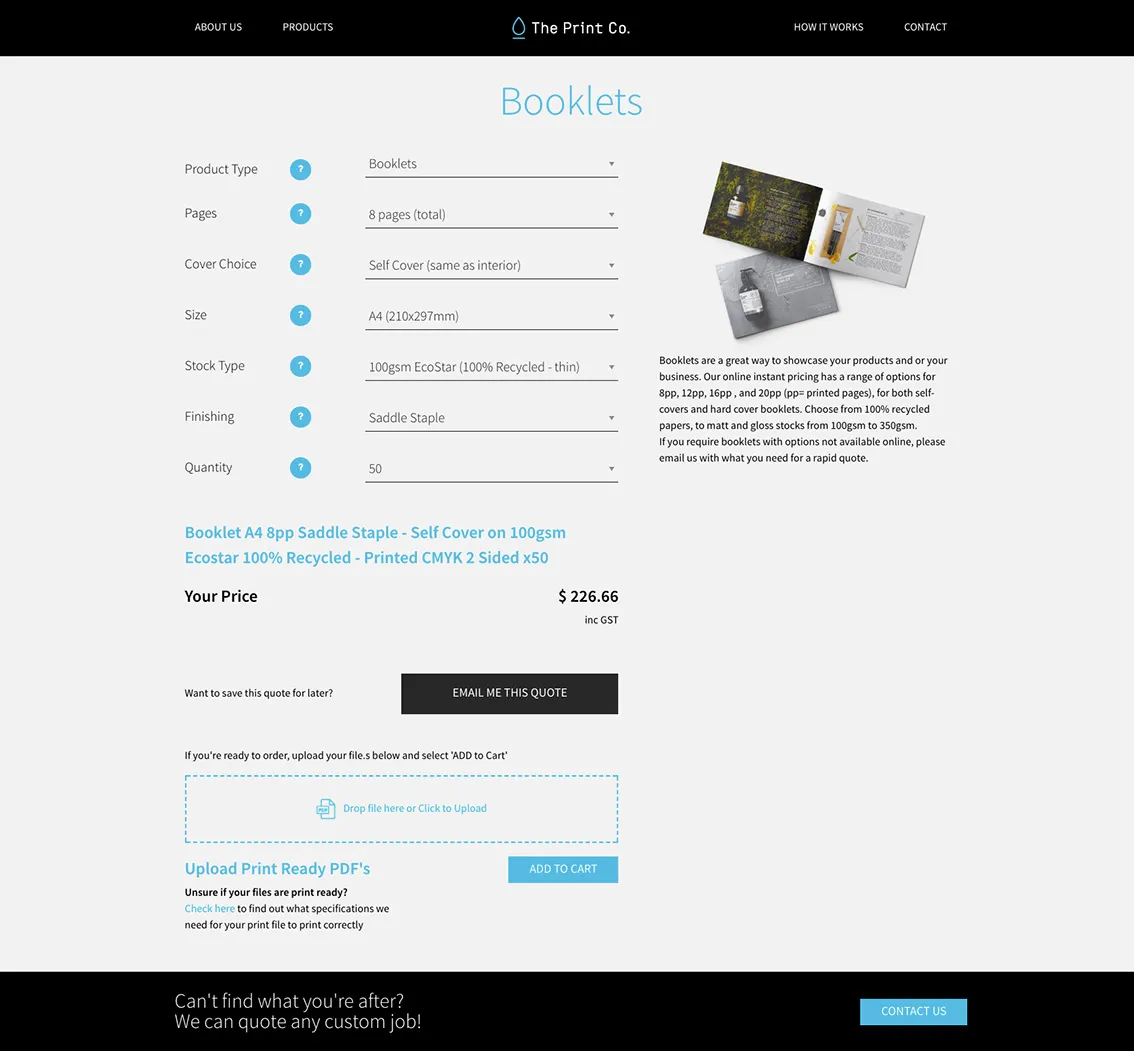
Click on image to enlarge
Step 4
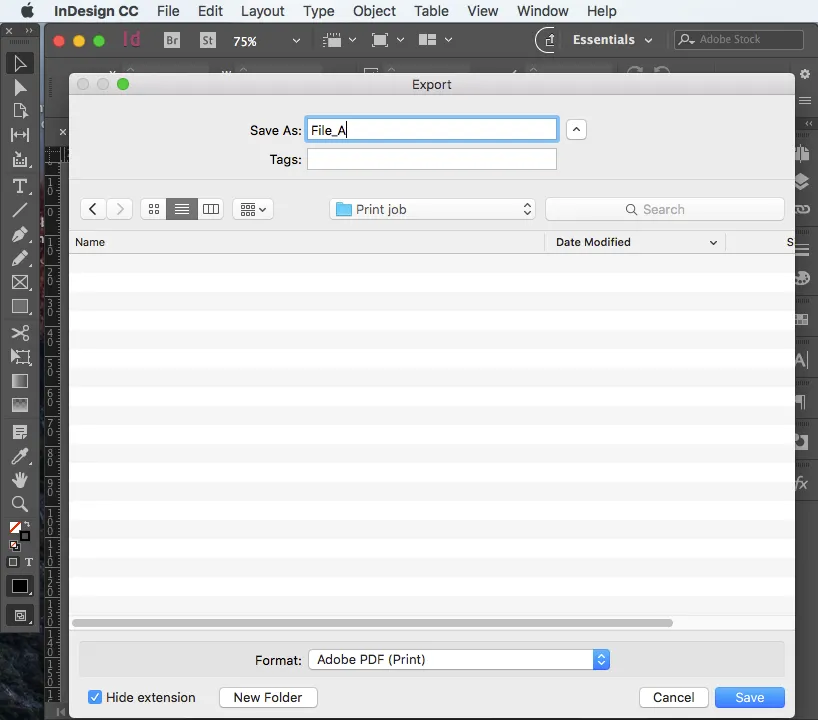
This will bring you to the checkout section where you can complete the checkout or return to shopping.
If you are ready to complete the transaction, please fill in your details and delivery information then click 'PAY BY CREDIT CARD'

Click on image to enlarge
Step 5
Simply fill out your credit card details and click 'PAY NOW'.
Your order is now with us and we will verify the files and get your job into production. If we find any issues with your files, we will contact you before we go to print.

Click on image to enlarge