Poster Printing Services: 6 Steps To Have Quality Posters Printed
Have you got an event coming up? Does your store have to get the word around on a sale for the weekend? Or is your company keen on promoting the launch of a new product? Whatever your need is, you may want to consider poster printing services for it.
Online poster printing is a cost-efficient and effective form of marketing for your business. If you have an eye for detail, a knack for great design and a sense of knowing what strikes the attention of people walking on the streets, then this approach is worth trying. At The Print Company, we are highly experienced in large poster printing and have made the process of online ordering extremely simple.
We offer clients custom posters in a range of sizes with the most popular being A1 poster printing, A3 poster printing and photo poster printing.
Though we are based in Melbourne, we offer FREE shipping and deliveries across Australia, and orders usually arrive in 1-3 business days for metropolitan areas.
Still, while there are professional, same day poster printing services like The Print Company to rely on, don’t forget about certain things you should do as preparation, so that the actual printing runs smoothly and you avoid spending money redoing it. It’s best to follow this set of steps below.
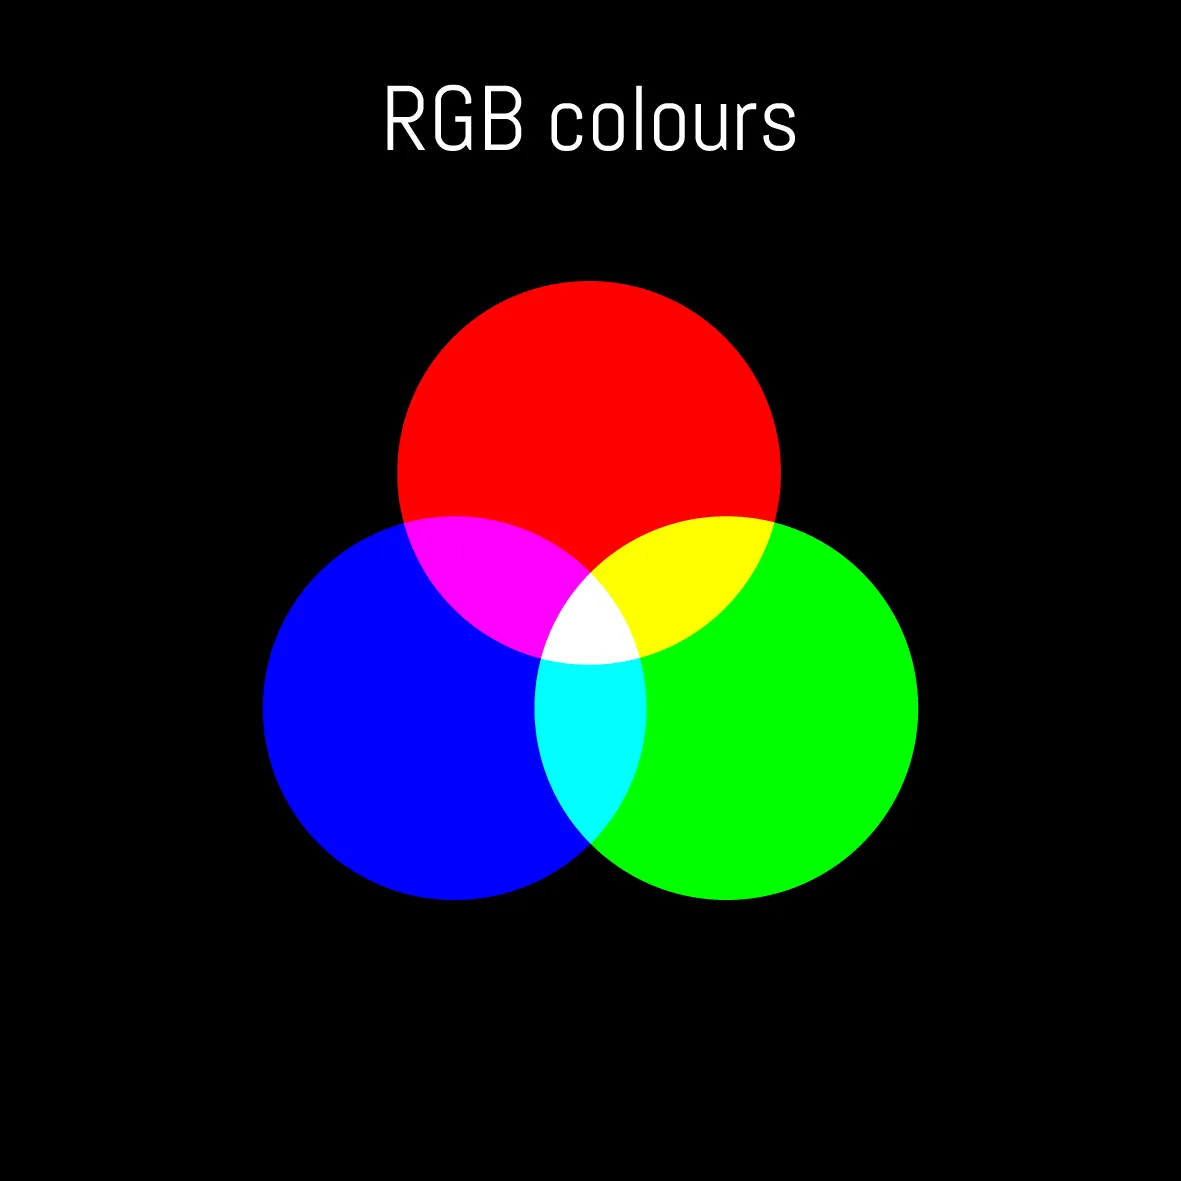
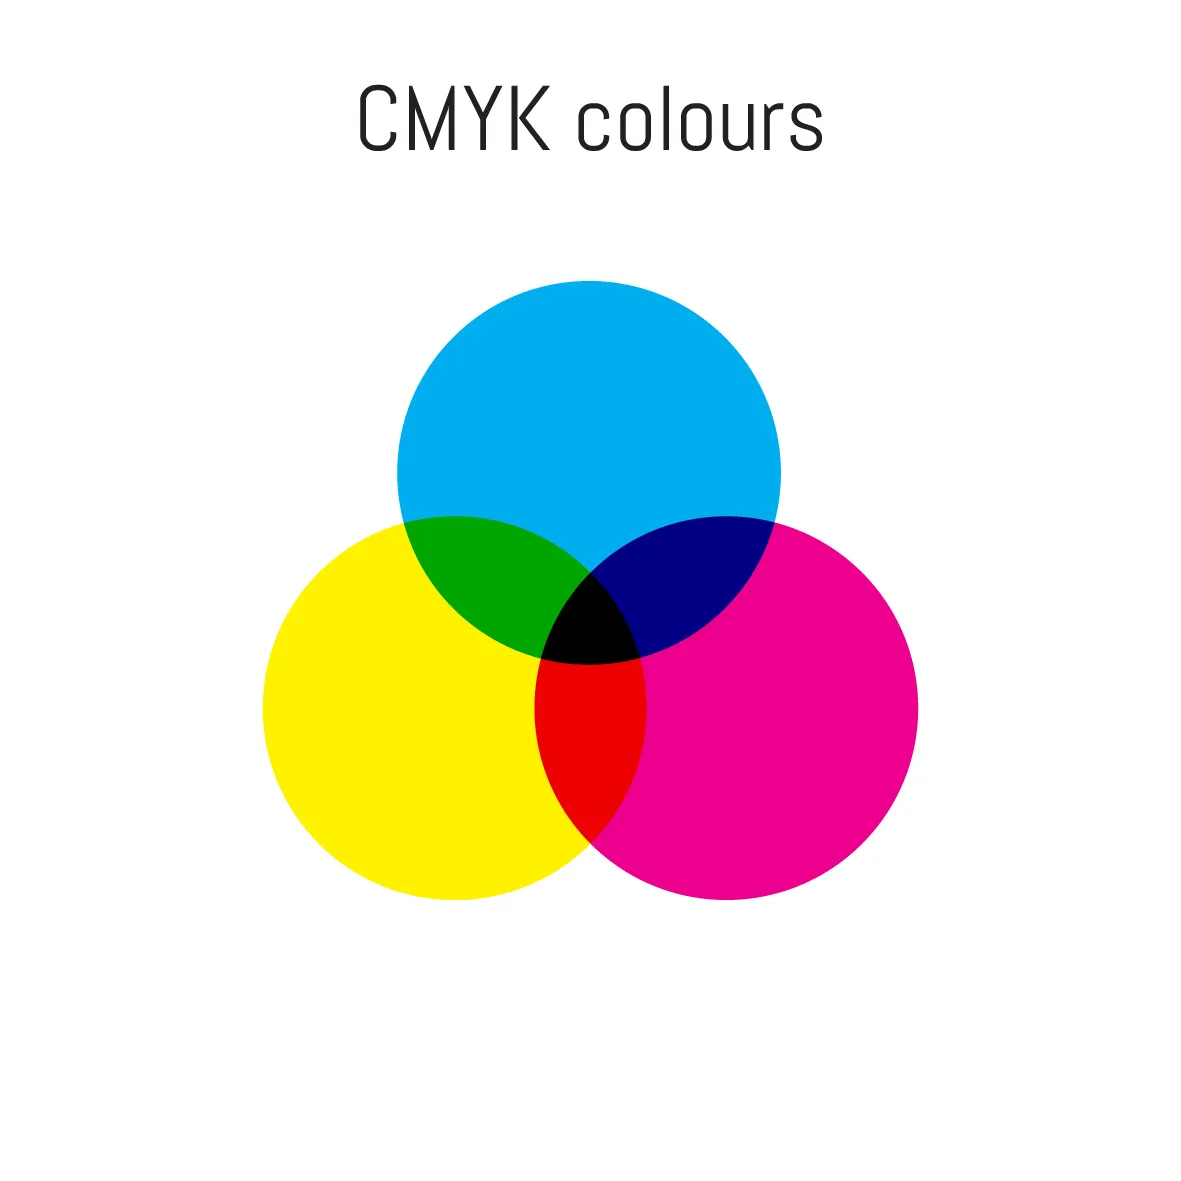
Step 1: Remember You Can Work In RGB Mode (Unlike Other Items)
There are certain technical elements you must keep in check before you hand your file to a poster printing service. First, do you want your colours to be as vibrant as possible once printed? Then this is the time to make your design using the RGB colour scheme instead of CMYK. Note that RBG, generally speaking, produces the most vibrant colours for large format printing such as poster printing.
Nevertheless, it’s absolutely fine to work in CMYK mode as well, especially if your poster doesn’t contain many bright coloured elements. But the general rule is this: if it’s a photo or was in RGB mode when you initially created the file, keep it in RGB. If the file is in CMYK, it’s best to stick to CMYK mode.
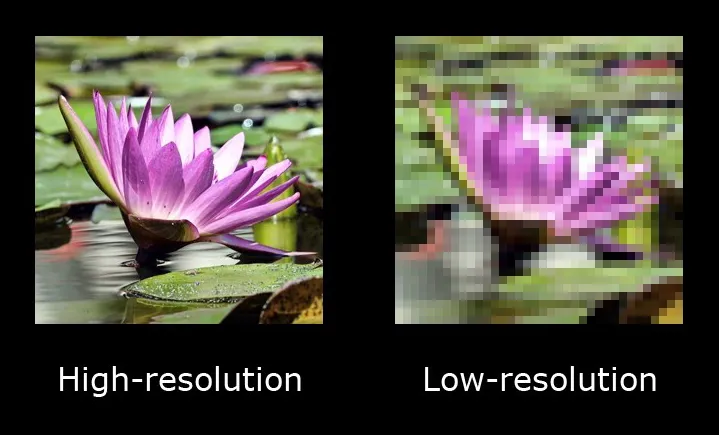
Step 2: Work At 200 DPI
Print files are large. Therefore, when the resolution of a poster file is too low, that results in the printing service sending back your work and delaying the process altogether. That is why it’s very important that your file is set to at least 200 DPI or dots per inch (also pixels per inch). The general rule is the more of these dots your file contains, the higher its resolution is – which leads to a higher-quality reproduction. Go lower than 200 DPI and you’ll wind up with a pixelated eyesore of a poster. In Photoshop, you can set the DPI in the window that pops up once you create a new document ('File –> New').
Step 3: Save Your File As A PDF / JPG
For practical reasons, it’s recommended that you supply your print file in either the PDF (Portable Document Format) or JPG image format. By insisting on another format, you run the risk of having the file printed out and upon closer inspection, you notice some edges cut off or the colour not totally accurate. However, printing services such as The Print Company will also check on their side that your file is, in fact, saved in the appropriate format.
Step 4: Mind The Bleed & Trim
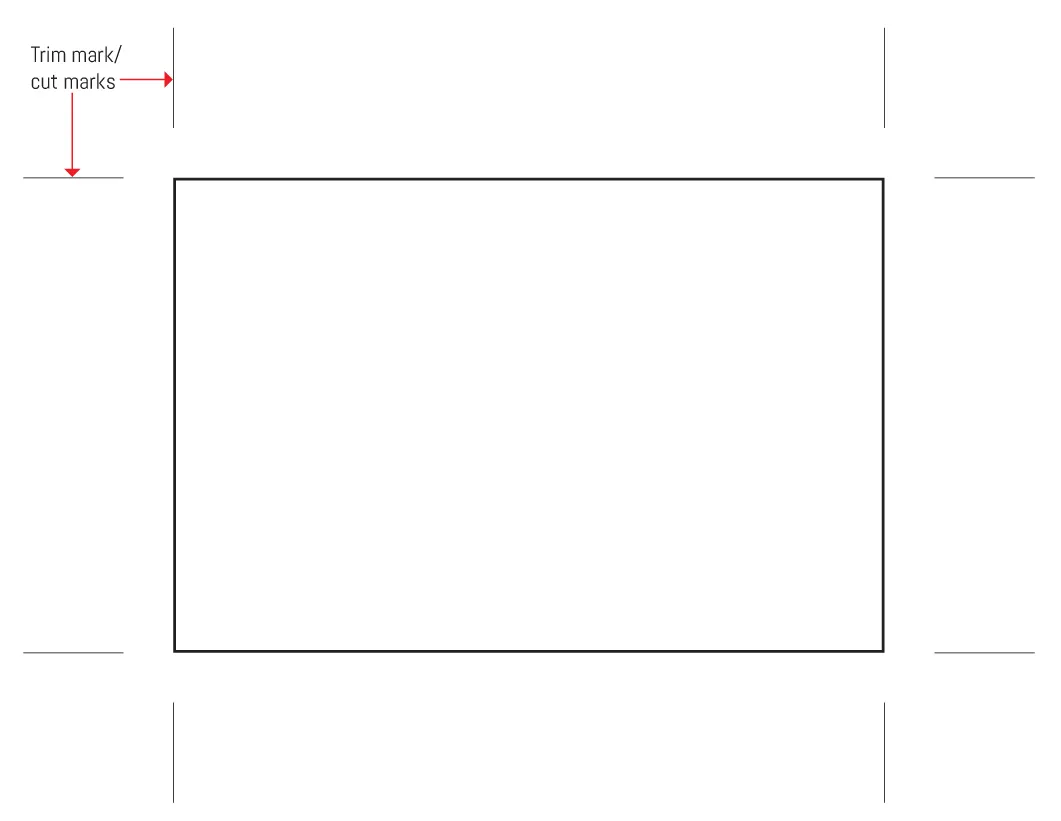
This step concerns all the ‘extra’ space of your design. First, the bleed is the area where an image or coloured detail runs off the edge of the page (thus leaving no white border). For poster printing, the minimum bleed amount required is 3mm for each side of the poster.
Of course, no detail that you intend to show off should lie anywhere on the bleed. Depending on how the printer does the cutting, that excess space may or may not come out in the final result. But essentially, it serves as your room for error and ensures there’s no random white line found on the edges of the poster. And as for the trim, it’s best for you and everyone involved in the printing if your PDF file has trim marks supplied. Through these, the chances of any portion of your poster being mistakenly cut off will be minimised.
Step 5: Check Your File One Last Time
In this day and age, when attention spans are really short and people are easily turned off by something “not quite right” – avoiding errors is a must. What could be more devastating in your poster printing tasks than that moment right at the end, when it appears you misspelled a well-known name or typed the wrong street number for the address. An upsetting waste of money! So really, there’s no harm in doing a last-minute spot check every time you go and have something printed.
Step 6: Select Your Paper & Size
At this point, you’re probably assured that the poster file is indeed workable and everything’s good to go for printing. Hooray! Now it’s a matter of choosing what type of paper you want to use. And depending on both your budget and the overall feel of the poster as people encounter it, some options might be better than others.
At The Print Company, we’re capable of printing your posters in small format stocks (e.g. artboard coated card, gloss paper, satin silk paper, standard uncoated paper, uncoated 100% recycled) as well as wide format stocks (e.g. thin bond uncoated paper, gloss poster paper, satin poster paper, matte uncoated, synthetic paper, polyester satin backlit). If you’re unsure as to what might be the ideal choice for your poster specifically, don’t hesitate to contact us online or over the phone. We want you to be absolutely satisfied with the final result, so clear communication with us is strongly encouraged.
Also, it’s worth noting that we print posters in the following standard sizes: A4 (210 x 297mm), A3 (297x420mm), A2 (420 x 594mm), A1 (594 x 841mm) and A0 (841 x 1188mm). Note that while these are standard sizes we work with at The Print Company, we can also print other custom sizes depending on the roll width. However, bear in mind that the width should be a maximum of 1350mm.
And there you have it. Getting a poster printed out is fun and exciting, provided you handle all the necessary things on your end correctly. So hopefully, this article helps you better understand what to do during your next poster project and other print projects in the future.


